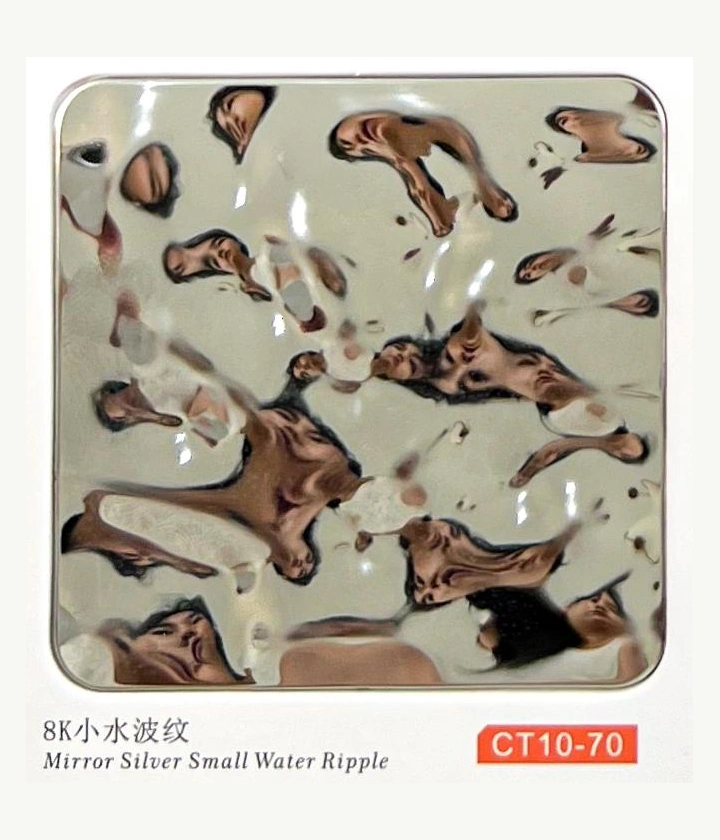
Compare ripple size in context
Request images with a scale reference and a physical sample. A large close-up is useful for texture but poor evidence of how an entire ceiling will read. Identify whether the design calls for a subtle surface or a strong reflected pattern.
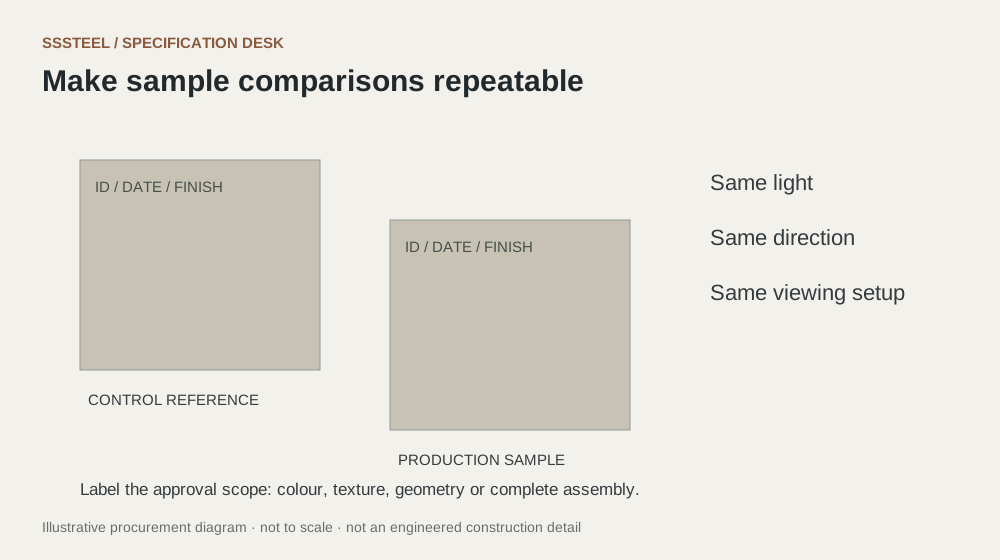
Use a representative mockup
Review the proposed module, seams and supporting arrangement together. Position the mockup near the intended type of light and observe it from normal approach directions. Record any distracting reflections rather than relying on a single favourable photograph.
Keep appearance and construction separate
The ripple name does not specify alloy, thickness, colouring process or panel support. Put each item in the inquiry. If a ceiling is involved, the project team must also confirm access, restraint and installation details for the complete assembly.
| Decision | Put this in writing |
|---|---|
| Visual effect | Define ripple scale and viewing distance. |
| Light | Review representative sources and directions. |
| Panel | Specify module, joints and supporting assembly. |
Put the detail to work.
A ripple sheet is proposed beneath a row of linear lights. A loose sample may look appealing, yet the full arrangement could produce a stronger reflected effect than intended. Review a representative panel under comparable lighting and from normal approach directions. If the visual effect is excessive, discuss texture or layout alternatives before changing the colour alone. Keep the accepted test arrangement in the design record.
Before you enquire
- Request an unedited sample photograph.
- Approve a physical ripple reference.
- Review seams before releasing the cutting list.
About this procurement note
The checklists and buying example are original SSSTEEL editorial guidance. Project drawings, supplier documentation and the agreed order govern the actual supply. External references are not product endorsements or proof of SSSTEEL certification.